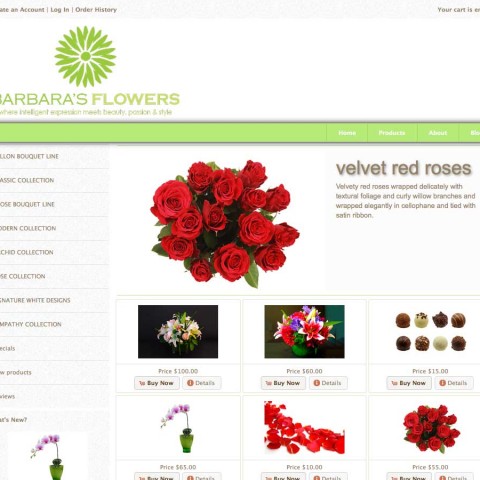
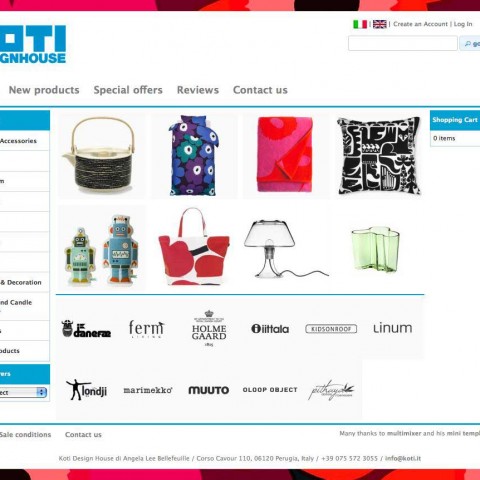
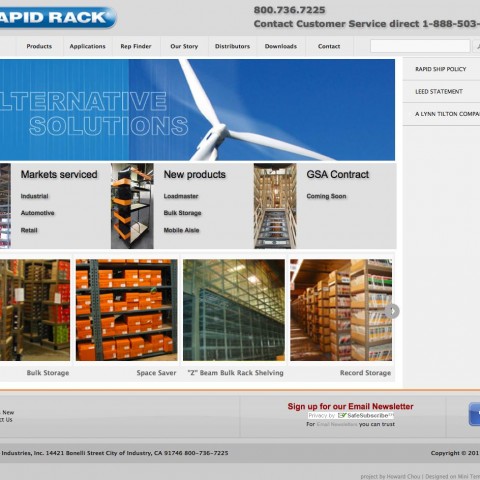
Mini template system includes an easy way to create and manage banners directly in the osCommerce administration panel: The banner manager. Even it looks similar to the default osCommerce banner manager, it’s much more easy to use having many useful features.
Install the banner manager
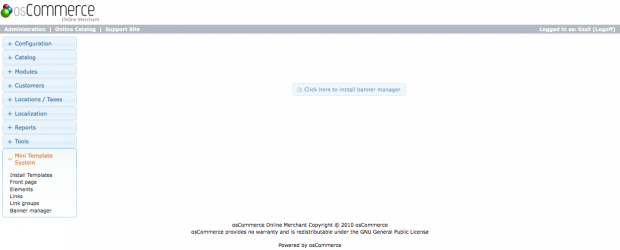
First step is to install the link manager. That’s an easy process, all you have to do is to go to the mini template system area of your administration panel, click on “banner manager” and then click the “install” button in the middle of the screen
Please do this before you enable any of the front page modules or any of the modules that are related banners. The installation will create all necessary database tables and import the sample data. The page will look now like this
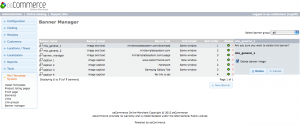
Seeing this page means that the banner manager is correctly installed. All banners that you see installed are sample banners.
Banners overview
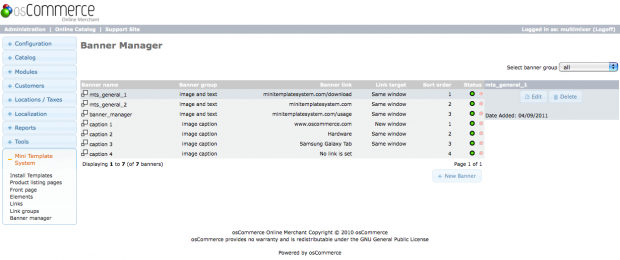
The banners management area can be accessed by clicking on “banner manager” in the mini template system section of your osCommerce administration panel. That’s the same that you used to install the banner manager
All banners are listed in rows, showing the banner name, the group the banner belongs to, the banner link, the way the banner link will open, the sort order of the banner (meaning the order the banner will be shown within the group) and the banner status. You can change this status by clicking the red or green icon. Setting the status to “red” will disable the banner and prevent it from being displayed while keeping all banner settings.
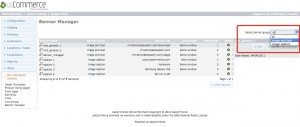
You can filter the banner overview by selecting the banner group you want to see
Banners: Create, edit and delete banners
You will want of course to add your own banners replacing the sample data. To do so, please press on “new banner” at the bottom of the banner listing.
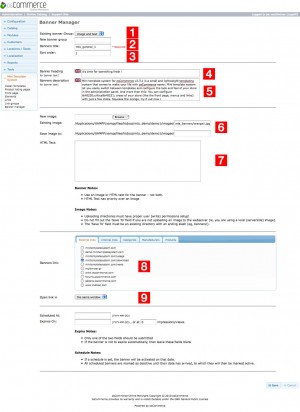
When inserting a new banner you have following fields available
- Banner group: Each banner has to belong to a banner group. A banner group can contain any number of banners. When it comes to the actual display of banners on the website, you will be asked to select one of the groups you created here. You can add your new banner either to an existing group or to a new group. In case you want to create a new group please type in the group name, in case of an existing, please select it from the drop down menu.
- Banner title: This field is used mainly to distinguish each banner, so you can find it again easily. However, if the banner will consist of an image only, and if there is no other title set (see below) then this will be also the image title (that is the small text that appear when hovering over an image)
- Sort order: This is the position of the banner within it’s group and is used to set the order the banner will be displayed (eg 1st, 2nd etc)
- Banners heading: This field should be used if you plan to display a text along with the banner on the website. The text entered here will be the heading of your text section. There are various ways to display the text, please check the front page manager section for detailed instructions. If you don’t plan to display any text, you can leave this field empty
- Banners description: The text entered here will be the description of your text section, in case you plan to display also a text with your banner. If you don’t plan to display any text, you can leave this field empty
- Banner image: You can upload any image from your computer, by clicking “browse”. You can also use an existing image – an image that is already uploaded to your server – by typing in the path to that image. You can finally select where you want the banner image to be saved on your server. Please make sure the directory you want to save the image to exist on the server. If you don’t type in anything, the image will be saved in the /images/ directory
- Banner HTML text: Here you can add any html text. The most common use is to add a video from youTube or vimeo or similar. All you have to do is to copy the code from there and to paste it into that field. Please keep in mind that you can not have an image and a video at the same time. If you add anything to the HTML text field, it will be preferred over the image.
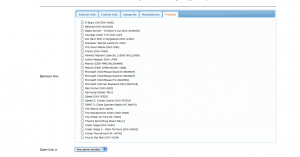
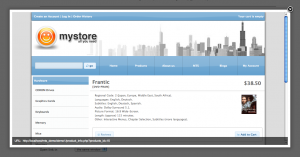
- Banner link: Here you can select to where you want to link the banner. All internal or external links of the link manager are available. If you want to add any new link, please do it over the link manager. Additional to this you can link a banner to a category, to a product or to a manufacturer listing. All links are listen in a tabbed menu. Any link can be previewed by clicking on the link name, so you can always be sure that you select the correct location to link to
- Link target: Here you can set if you want the banners link to open in the same browser window or in a new window.
Exactly the same fields are available when you want to edit a banner. If you want to edit an existing banner, please select it on the overview and then click on “edit”
Some tips regarding banners
Please make sure that all images you upload for a particular image group have the same ratio. The size it self is not that important, but the ratio is. For a prticular group you should take care for example that all images are in a 3:2 ratio. Some images can be 300×200 pixels, some others 600×400 pixels. That is not a problem because all images will get resized automatically to fit the actual page dimensions
Same also if you plan to use videos. Please make sure all videos have the same ratio. You can also mix images and videos, that is also not a problem as long the ratio is same.When adding a video from youTube, please select the “new mode” and take the code from there.
If you plan to use text along with the banner it’s recommended to make sure all text and all headings have about the same lenght
Delete a banner
To delete a banner, select it on the overview and then click on “delete”. You will get a prompt if you want the image related to the banner to be deleted too or not. If the banner is the last of it’s group, the group will be deleted too.
Banners: Preview a banner
The feature to preview a banner within your administration panel is extremely useful, because in that way you can always be sure that the correct banner link to the correct location. Please keep in mind that the preview feature is meant mainly regarding the banner content. There are various display options available, that are selectable when doing configurations at the point of display, for example the front page. Those display options are not taking effect now, when previewing a banner. Also, any images will be displayed in their real pixel size. When it comes to the display, they will be resized automatically to fit the page dimensions.
To preview a banner, select the row of the listing the banner is on, and then click on it’s name. A new window will open, showing you the banner content.
To preview the banner link, select the row of the listing the banner is on, and then click on it’s url. A new window will open, showing you the banners link target.

