The first group of settings you can do to your osCommerce template are “generall settings”. They affect the general appearance of your osCommerce store. All of the following settings are template specific, that means that you can have them configured in one way for a particular template and in an other way for an other template.
To start editing your template, go to the mini template system area of your admin panel, select the template you want to edit and then click “edit template”. There are no files to edit, all settings are administration settings

You will see following configuration options:
Page width

By default, the page with of any osCommerce store of version 2.3.1 is set to 960 pixels. Mini template system includes the option to set the total page width via your administration panel. Following widths will be available to select via a drop down menu: 840, 864, 888, 912, 984, 1008, 1080, 1128, 1200 and of course the default 960 pixels.
To set a custom page width, please go to the mini template system area of your osCommerce administration panel, and click edit for the template you want to modify. Select a page width from the drop down list and save the settings.
You will also notice that, the header banner adjust it’s width automatically, according to the total page width


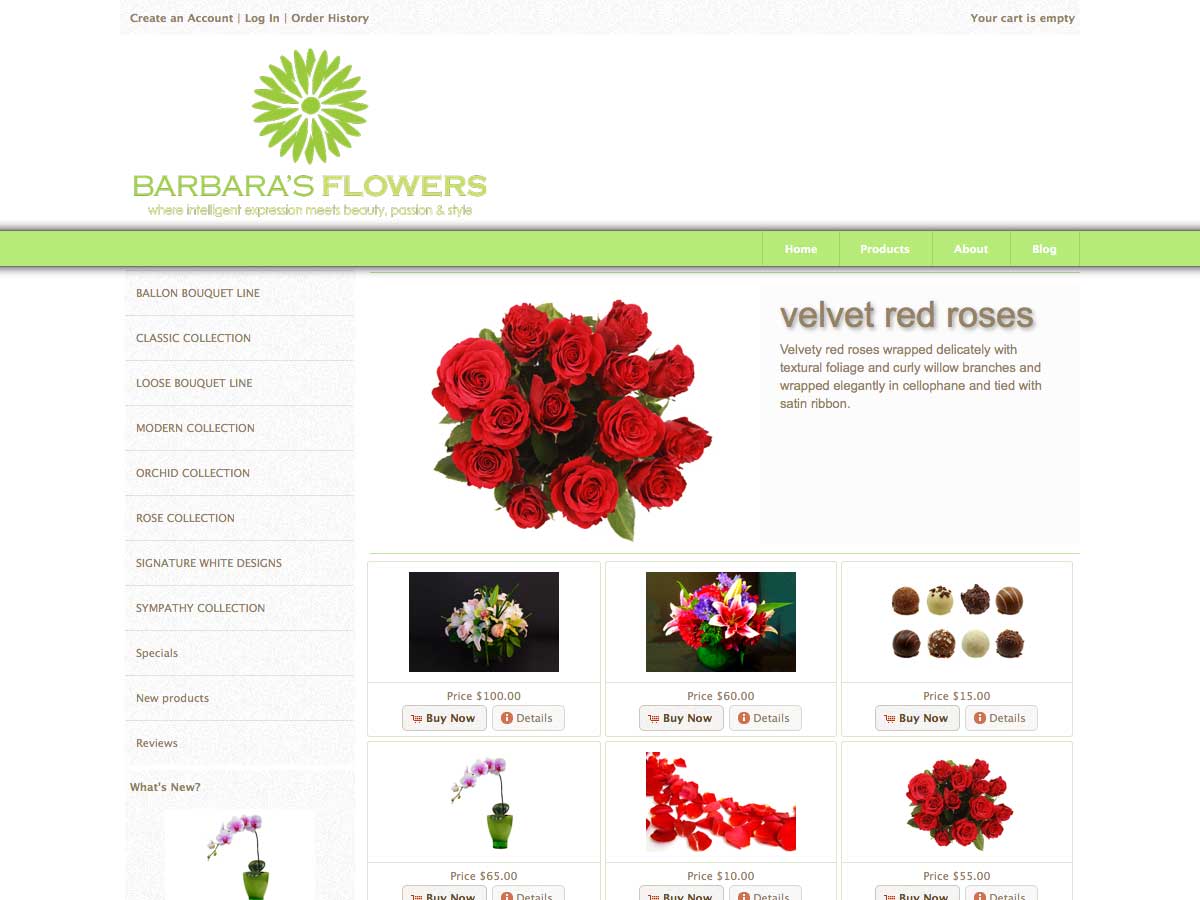
Position of boxes
You can have all of your boxes positioned on the left or right hand column. Just choose the setting you want and click on “save”. Third option is to choose “default”, in this case the boxes will be positioned according to the settings you have in the boxes configuration area of your administration panel, where you can set the position for each box individually.


Column width
Here you can set the width for the left and/or right column of the store. The width is calculated in “grids”, each grid is 40 pixels wide (at a total store width of 960 pixels). There are 5 different settings available, starting from 4 grinds (= 160 pixels) till 8 grids (320 pixels) that is exactly 1/3 of the total page width.
In case you use an other store width, you can easily calculate the grid width your self like this grid width = store width / 24
jQuery UI theme
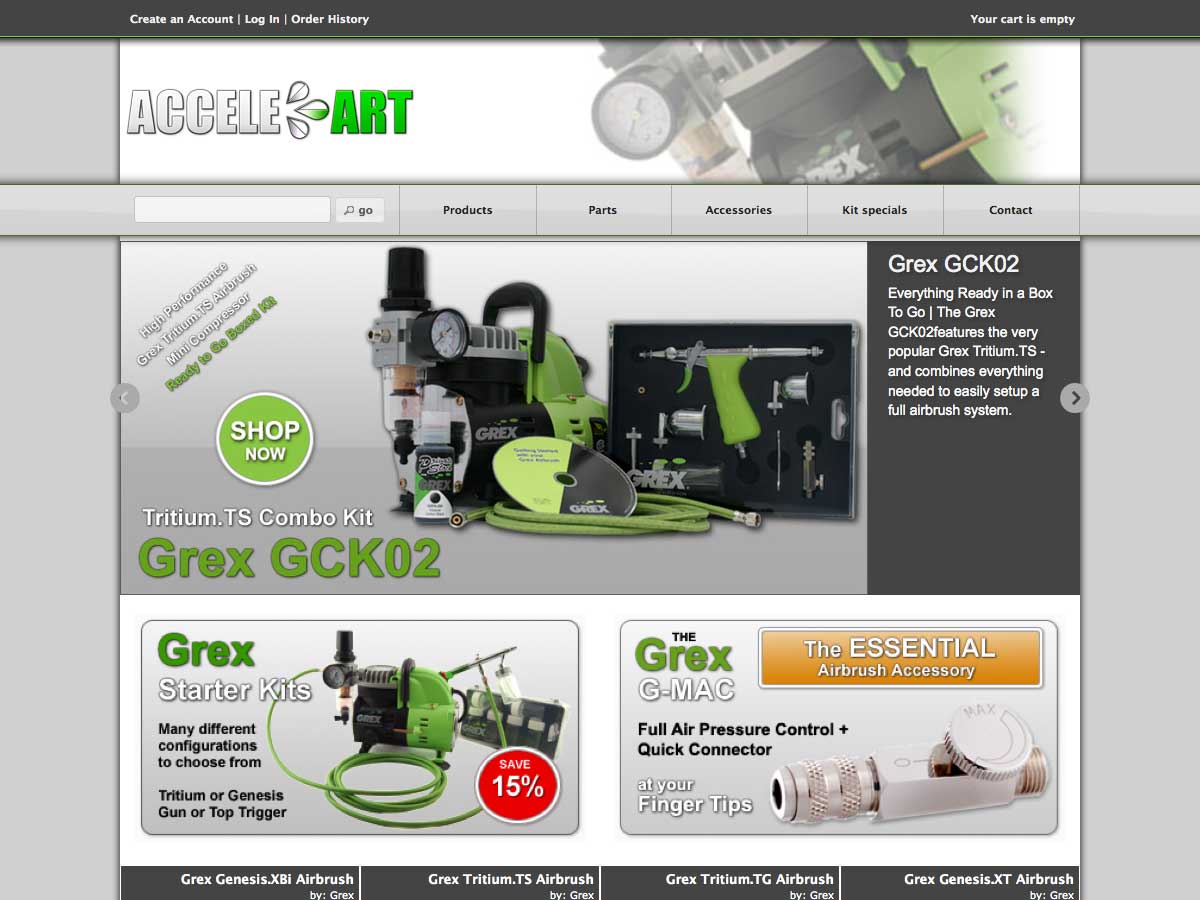
The jQuery UI theme affects the appereance of the store to a very high grade. Major areas of the store use the settings of the selected UI theme, such as
- the top header bar that host the login/account links and the shopping cart information
- the menu bar that host the search area and the main navigation
- the complete background of the footer area
- the heading, borders, background and text color of the boxes (this you can change again with other settings)
- the heading, borders, background and text color of the product listings
- The color and style of all buttons
Not each template has the same grade of jQuery UI dependency, that mean that some templates are affected more and some others less by the chosen jQuery UI theme. The above list applies to the basic mini template system template that is included in the package
There are 18 jQuery UI themes pre installed by default, you can choose any of them and click on save to activate it. You can also easily create your own jQuery UI theme, you can read here how to do it


Color theme
The installed color theme affects all colors that are not set by the jQuery UI theme in use. For example:
- the background colors for body and main content
- the color for all text, links and page headings
- the colors of borders and lines (like in new products listing, categories listing, login and create account boxes, the border around the buttons etc)
- the colors of various details (like the color of the various input areas etc)
You will be able to change most of this settings, replacing them with custom colors. Please read the chapters “background color setting” and “text color settings” for detailded instructions. It is however recommended to choose a color theme that match the style of your template the most
To select a color theme is quite easy: Go to the mini template system area of your osCommerce administration panel, and click edit for the template you want to modify. Select the color theme from the drop down list and save the settings. You can now either preview the new color theme or watch it on the front side of your store in case you have the template activated
Shadow scheme
Shadows are a great way to wrap various areas of the site and let them appear as a composite unit. For example the templates header, footer main body or the columns. Mini template system use shadows extensively. So you can choose if you want your store to have a “wrapped” look or a “wide” one, you can expose the columns, or the main menu area, it all depends on your needs and taste. You have 21 shadow combinations available.
To select any of them go to the mini template system area of your osCommerce administration panel, and click edit for the template you want to modify. Select the shadow scheme from the drop down list and save the settings. You can now either preview the new color theme or watch it on the front side of your store in case you have the template activated
It’s known that Internet Explorer support shadows in a very limited way, at least till version 8. Mini template system includes following shadow schemes that are supported by IE:
shadow_10_a.css
shadow_10_b.css
shadow_10_c.css
shadow_11_a.css
shadow_12_a.css
shadow_20_a.css
shadow_20_b.css
shadow_22_a.css
shadow_22_b.css
shadow_22_c.css
shadow_23_a.css
shadow_23_b.css
It’s not a problem however to choose a shadow scheme that is not supported by IE: Internet explorer users will just see nothing instead of the shadow, the whole page layout is not going to be affected by this. Finally, internet explorer users are not used to see shadows anyway, so they’ll not be missing anything
You can check here a complete overview of all available shadow schemes
Height of the header
You have the option to set the height of your stores header in pixels. To do so go to the mini template system area of your osCommerce administration panel, type in the desired height and save the settings. You can use any number that fit your needs.
This you need to do only in case you don’t use an image or a banner for your header. In this case you will need to adjust the header height to be at least the same as the height of the logo image you use
In case you use a header image or banner for your header, the best is you leave the field empty. The header height will adjust automatically to fit the height of the image or banner you use
Logo position: distance from the top
In addition to the header height you can adjust, you can also set the distance of your store’s logo from the top of the page. This will be necessary if you use a header image or banner that is much larger, taller, than the logo image. To set the top margin of your store’s logo go to the mini template system area of your osCommerce administration panel, type in the desired height and save the settings. You can use any number that fit your needs. You will probably need to try out different settings till you get the desired result
Logo position: left or right
Your store’s logo will be floating over the header area, doesn’t matter if you choose to fill it with a banner or to leave it empty. You have the option to display the logo on the left or the right side of the header. To do so, go to the mini template system area of your osCommerce administration panel, select the box position you like and save the settings
Faux columns
Faux columns means “fake” columns or “pseudo” columns. It refers to the visual effect to have columns expanding till the bottom of the page, even they are not filled with content.
You can decide if you want to use faux columns or not by selecting “yes” or “no” in our administration panel
Please keep in mind that, in order to get the desired “faux” result, at least a background color and/or a shadow scheme that outlines and expose the columns (like for example shadow_31_a) should be used
Glue boxes
The boxes, displayed on the left and/or right column of your store have by default a margin of about 5 pixels. In this way each of them looks separated from the other. You have the option to make them “glue” vertically, that mean that the top of the lower box will touch the bottom of the previews one. It’s absolutely up to you and your design needs to use this option. To do so, go to the mini template system area of your osCommerce administration panel, select the setting you want and save the settings