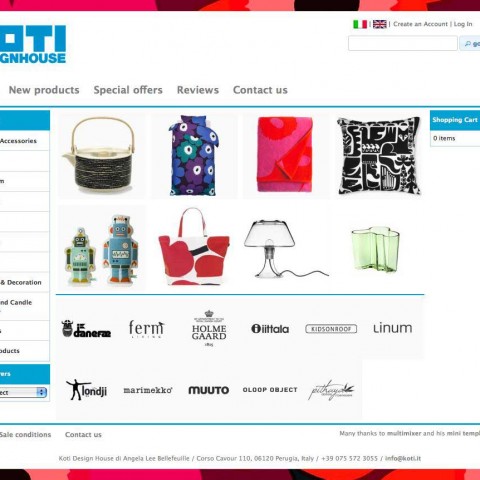
Mini template system includes already 9 alternative page widths, additional to the default osCommerce 960 pixels width. This makes in total 10 page widths available to be selected via your administration panel. You can read here about how to use this option.
However, in case you need a custom width that does not exist in your drop down menu, it’s very easy to create one, without having to modify any php file. Let’s start:
1. Create a custom css file online
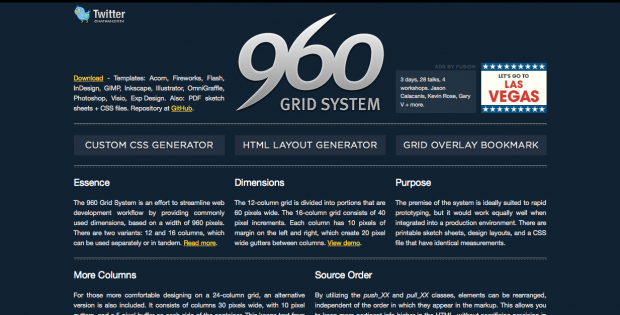
As we all know, osCommerce use the 960 grid system in it’s latest version. So, first thing to do is to go to the 960 grid system website and click on “custom css generator” on the left.
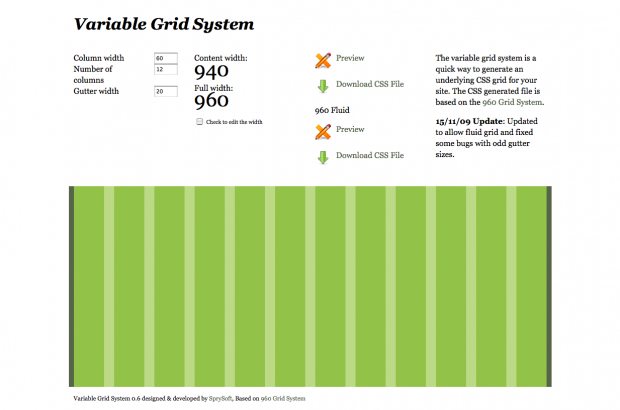
You will be transfered to a custom css generator, that you can access directly too of course. You’ll have in front of you following screen:
Here you will need to change the “number of columns” to be 24 and the “gutter width” to be 10. This will make the resulting css file to be conform with the rest of your store’s setup. What you can alter to any number is the “column width”. Setting this to number “30” will result to the default 960 pixels width:
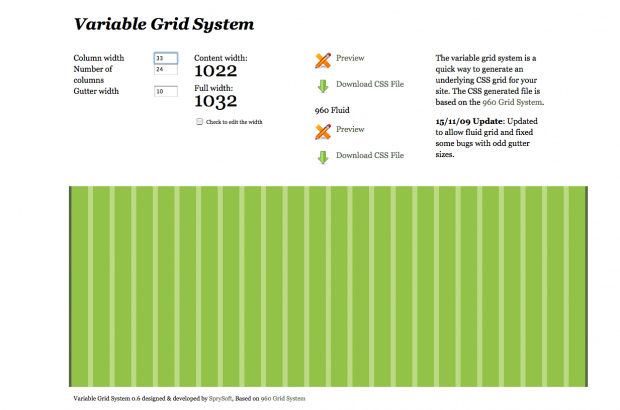
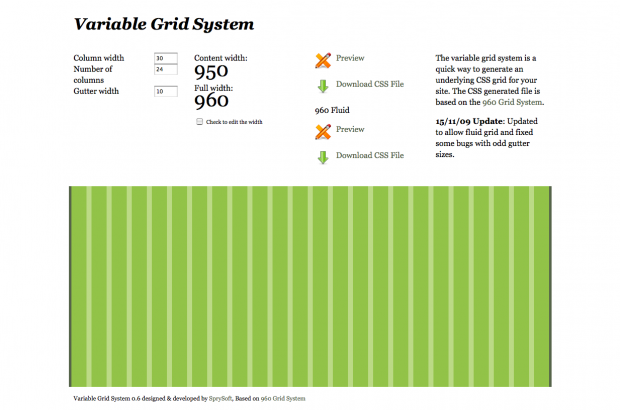 You don’t need this of course, since it is already included in osCommerce. The settings for a 1032 pixels wide website for example are like this: 33 column width, 24 columns, 10 gutter
If this is the page width you need, then press on “download css file”. You will get a copy of the new created custom css to your screen. Save this file to your computer and name it by the width that you selected, in our example the filename would be 1032_24_col.css
2. upload the new file to your server
Use your favorite FTP program to upload the file “1032_24_col.css” to following location
If you don’t have an FTP program by hand, you can do the same via your host cPanel. Please contact if you need instructions on how to do this
3. activate the new width
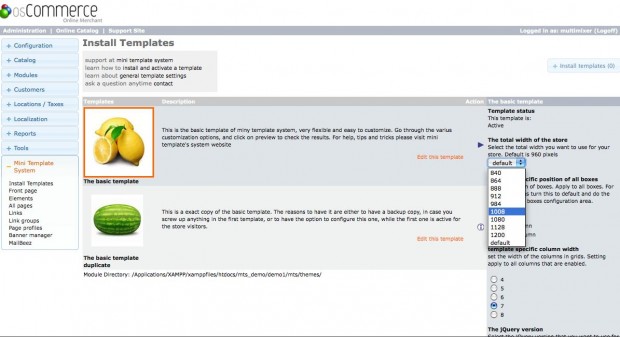
That’s the most easy part thanks to mini template system. All you need to do is, to go to the mini template system area of your osCommece administration panel, click “edit” on the template you want to use your new custom width, select it from the drop down menu, and save the settings
You can of course preview your store in your administration by clicking “preview”. If all is ok and to your satisfaction, you can activate the template (if it is not active already) and go to your store to enjoy the new look

