Links are one of the most important part on a online store. It’s basically the only way to get from one page to an other. Unfortunately, the default osCommerce doesn’t make it very easy to add and manage links. Mini template system includes an easy way to manage links directly in the osCommerce administration panel: The link manager.
Install the link manager
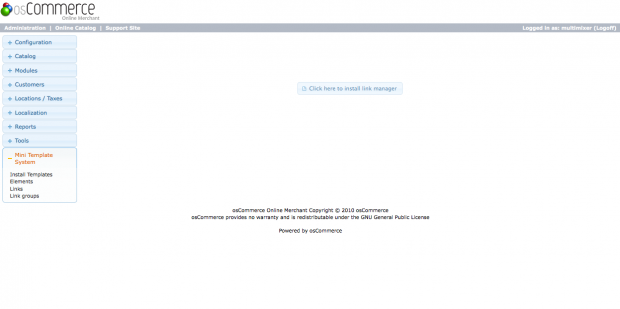
First step is to install the link manager. That’s an easy process, all you have to do is to go to the mini template system area of your administration panel, click on “links” and then click the “install” button in the middle of the page
Please do this before you enable any of the menus, navigation bar or link boxes. The installation will create all necessary database tables and import the sample data. The page will look now like this
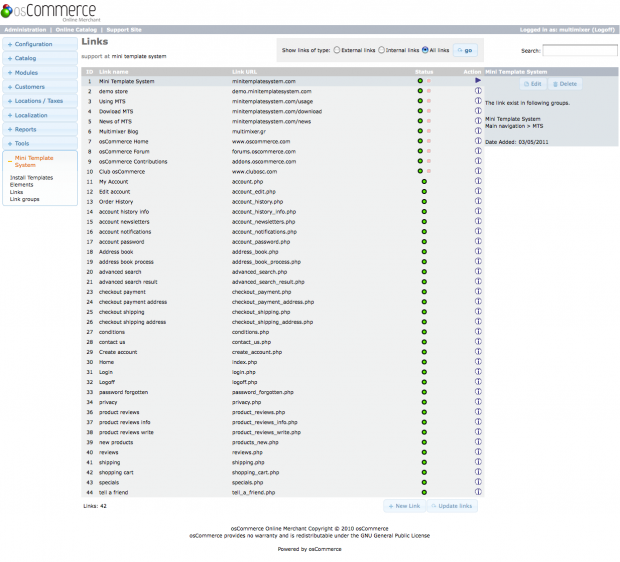
Seeing this page means that the link manager is correctly installed.
The link manager consist of 2 main areas: The link area and the link group area.
The link area
Here you can configure all your links. You can say that the links area is like a “pool” where you have all of your links in one place, doesn’t matter where and how you are going to display it or in what and how many link groups you are going to include it. Any settings you do here do affect the link wherever on your page it get displayed.
The link area can be accessed by clicking on “links” in the mini template system section of your osCommerce administration panel. That’s the same that you used to install the link manager
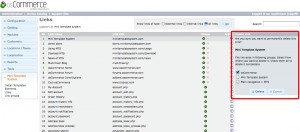
All links are listed in rows, showing the link name, the link url and the link status. You can change this status by clicking the red or green icon. Please note that internal links are always active
There are 2 types of links:
- External links: That are links to any page on the net you wish to link to
- Internal links: that are links to all pages of your osCommerce store that are meant to be displayed on the screen
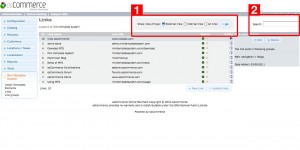
You can filter the link overview by choosing the link type you want to see (internal links, external links or all links) and clicking on “go”, or you can use the search function if you are looking for a particular link
You will want of course to add your own links replacing the sample data
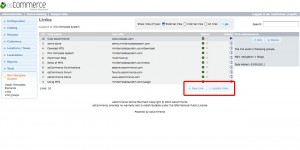
- Internal links do not need to be entered manually. All you need to do is to click on “update links” at the bottom of the page. Any osCommerce pages that are not present will be updated. You should do this in case you added new pages to the osCommerce installation, or in case you deleted a link to a internal page by accident
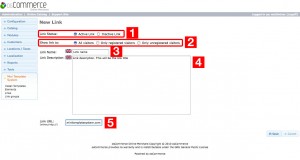
- External links need to be entered manually. To start the process, press on “new link” at the bottom of the page. You will be transfered to a new page where you can enter the link data
When inserting a new link you have following fields available
- Set the link to be active or inactive. Active means it will be visible, inactive means it will be not displayed to anyone. You can set the link status here as well as on the link overview page. Please note that internal links can not be deactivated, they are active all the time.
- Set the user group the link is for. Here you can set if you want the link to appear to all users, only registered users or only not registered users. For example you want the link to the “login” page to appear only to not registered users, and the link “logoff” page to appear only to registered
- The link name, the way you want it to appear on your page
- The link description, this will be the link title. The text entered here will appear when hovering over the link, so try to be short
- The link url, thats the internet location you want to link to. Please do not add “http://” before. Please note: Do not add links to internal pages in this way, use the “update links” function instead as described above
Exactly the same field are available when you want to edit a link. You can press on “edit” and change any of the link settings any time. You can also click on the link name to be transfered to the same screen
To delete a link, select it on the overview and then click on “delete”. You will get a prompt, about how and what link groups the link is in. So you can choose if you want to delete it only from specific link groups or to delete it completely by checking all link groups the link is in
The feature to preview a link within your administration panel is extremely useful, because in that way you can always be sure hat you link to the correct location
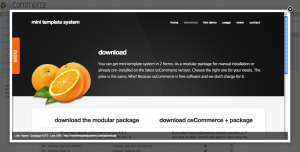
To preview a link, select the row of the listing the link is on, and then click on it’s url. A new fancybox window will open, showing you where you where the link leads to. The preview displays also the link name and the complete link url
In that way you can check from time to time all of your links without having to go through various menus in your page
The link group area
Here you can organize all your links in the way you want them to appear in your page. A link group can contain inks and/or other link groups and/or products categories. You can say that creating a link group is like creating a menu.
- link groups – overview
- link groups – create and edit link groups
- link groups – basic actions: delete, copy and move link groups
- link groups – add links to a link group
- link groups – add url to a link group title
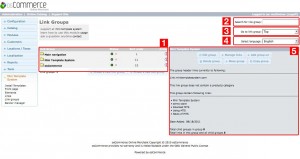
Link groups are listed in rows in the same way as product categories are. Clicking on a row will lead you to the next level, if there is any.
Here you can set the link group status, by clicking the red or green icon. Green means “active”, red is “inactive”. Setting a link group to “inactive” will make it to disappear from all menus that include this link group. All settings like included links and subgroups will be preserved, so you can easily enable it again any time
You can use the “search” filed to look up a specific group or you can use the drop down menu to jump directly to any group you like. You can also select the language you want to use for the display, this is very useful when setting up different menus per language
On the right hand you can see the basic information about the link group you are on. You can click of course on any listed links to preview them directly in your admin panel, so you can always be sure that you link to the correct location
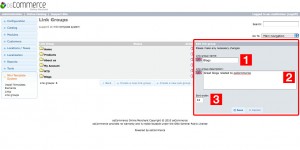
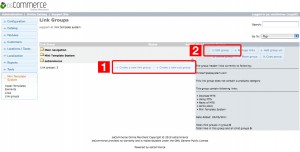
You can create a new link group on the same level you are currently, by clicking “create a new link group” at the bottom of the page. Fo example, if you are in the link group “main navigation” and want to add one more link group to it.
You can create a new sub group of a selected link group by clicking “create a new sub group” at the bottom of the page. For example, if you click on group “osCommerce” that does not contain any sub groups yet, you can create one in this way
If you want to edit an existing link group, click on “edit” at the side panel
Following fields are available when adding a new or editing an existing link group:
- link group name: Thats the name of the group that will be displayed for example as a parent element in a fly out menu, or a box header in case you use a link box, or a list header in case you display the links in your footer
- link group description: This will be used only in case the link group heading is a link it self (see the section about adding a url to a group). If not, then this field will not be used anywhere
- Sort order: This is the order you want the group to appear in a menu. The sort order is relative to the sort order of other link groups in the same parent group
link groups – basic actions: delete, copy and move
Unlike product categories, link groups can be copied and/or moved into other link groups. hey can be deleted too of course in case you don’t need them any more
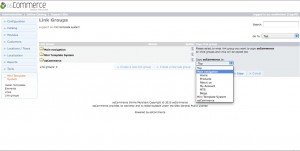
To copy a link group select it, click on “copy” and select the destination folder you want to copy the link group to. All sub groups and all links will be copied too
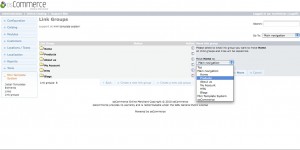
To move a link group select it, click on “move” and select the destination folder you want to move the link group to. All sub groups and all links will be moved too
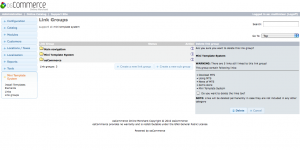
To delete a link group, just click on delete. In case the group contains sub groups or links you will get a warning about this, so you can move out any sub groups you would like to keep. In case of links you can choose if you want to delete the links too or not. Please note that the links will be deleted permanently only in case they are not members of an other link group
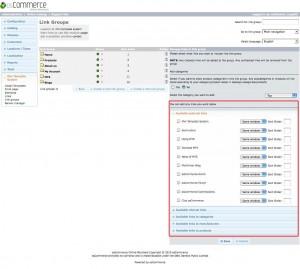
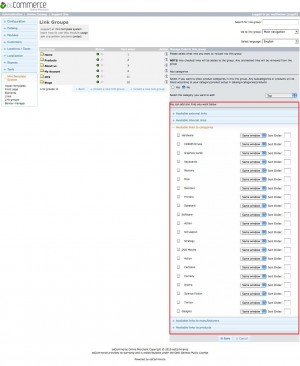
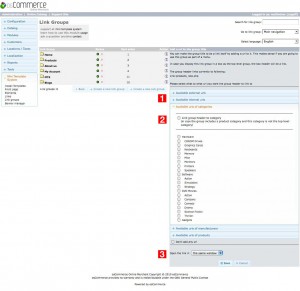
Adding links to a link group is the most important part of the process. That’s finally what the whole system is for. To start adding links, please press on “manage links” on the right panel. You will get a complete list of all available links. You can start adding single internal or external links, links to individual products, categories or manufacturers, a complete products category, or any combination of them
You can add single links by selecting them from the link list. For each link you can set if you want it to open in the same or in a new window. The sort order refers to the position of the link within this particular group. The same link can have a different sort order and a different link target in an other group. You have not to worry about mixing internal and external links, products, categories or manufacturers into the same group, the system will recognize them and create the final link in a proper way. Of course you can preview any link in a fancybox window before adding it, so you can be sure that you set up the groups correctly
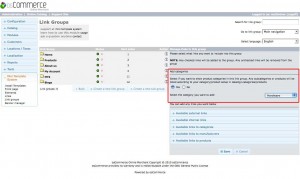
An other option you have is to add a complete products category to the group. To do so, please check “yes” and select the category you want to add. All contents of that product category will be included into the link group following the structure of your categories/products setup. In case the product category has no subcategories, then the products of that category will be added to the group. There is of course no problem when you wish to mix single links with product categories.
So you have an absolute flexibility when setting up menus. Your menus have not to follow your products/categories structure. This is a very useful feature in case you want to create “cross sell menus” grouping items of different categories into the same menu section.
If for example, you have a category fruits (lemons, melons, oranges), a category juices (lemon juice, melon juice, orange juice) and a category books (about melons, about lemons, about oranges), the regular display would be to create menu items that follow exactly this structure. What you can do is, to create a menu item “all about lemons” and list under it the fruit, the juice and the book and any other related links, for example a interesting blogpost about lemons
You can make the group title to be a link itself by adding a url to it. This makes sense if you are going to use this group as part of a menu. In case you display this link group in a box as the top level group, the box header will be a link. Same if you are going to display that link group in your store’s footer
To add a url to a link group title, please press on “add group url” on the right panel. You will get a complete list of all available links: internal, external, links to products, categories and manufacturers. Since you can add only one link to the group title, there are no check boxes, but radio fields, so you can select only one. Of course you can preview any link in a fancybox window within the admin panel by clicking on it.
For the chosen link you can select if you want it to open in the same or in a new window
In case the link group includes a product category of any level other than the top level, you can also select to have that category to be the target of your link group title link. If for example you want the link group “products” to display the category “DVD movies”, you may want to link the link group title to the category “DVD movies”. You can link it of course to new products or specials as well

